This article will guide you through the simple process of programming your Genie 3-Button Remote. So, whether you’re setting it up for the first time or resetting it, we’ve got you covered.
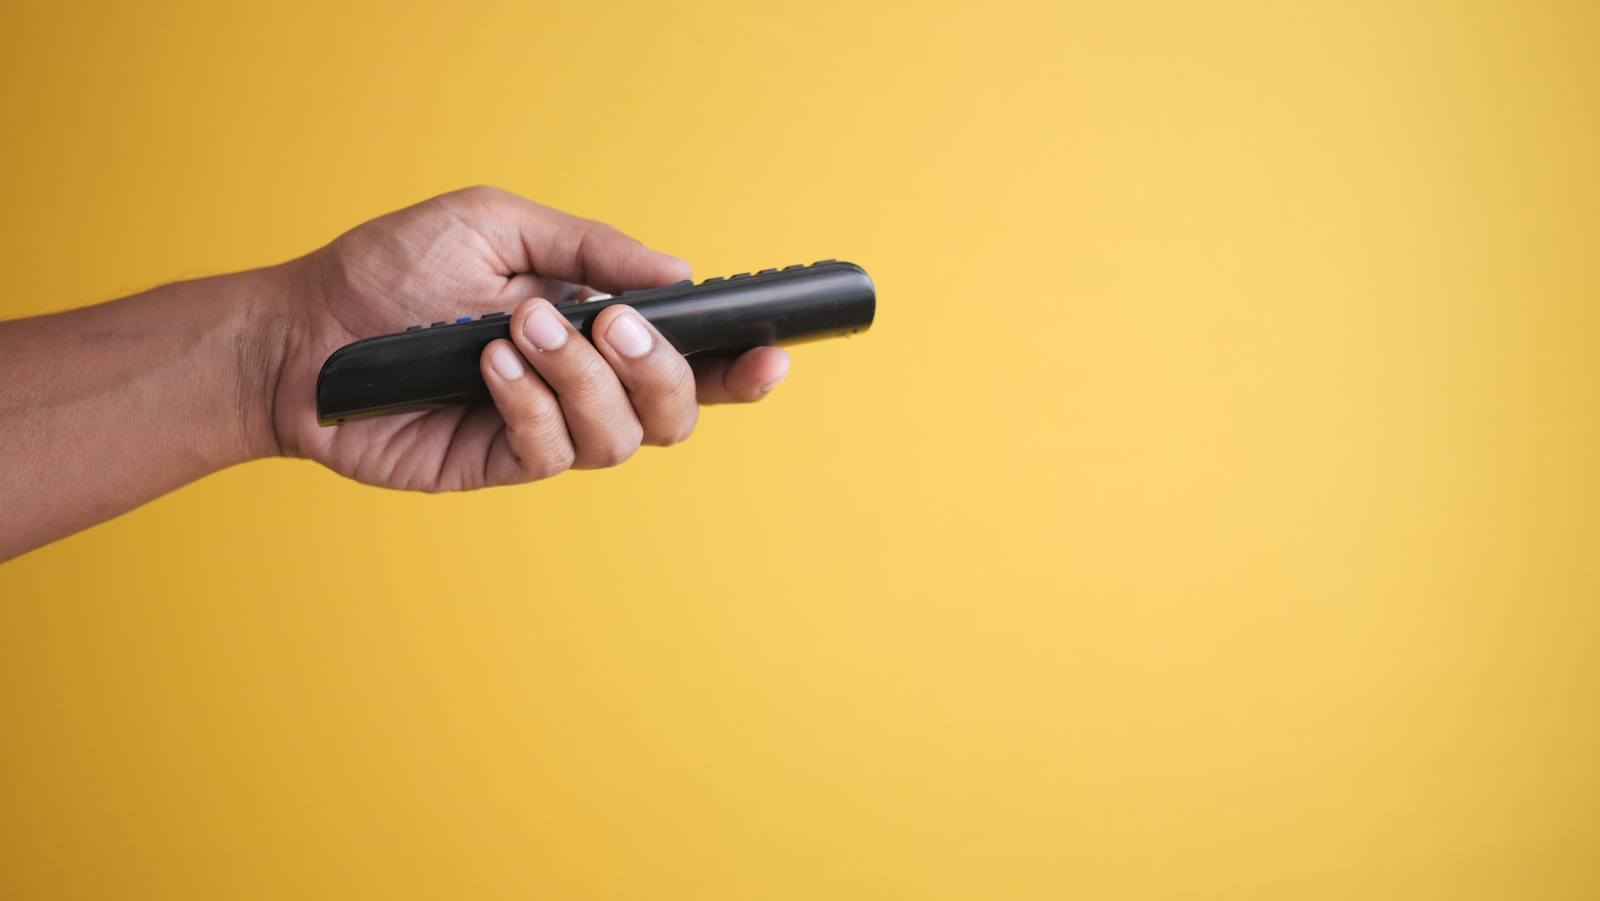
Genie 3-Button Remote Programming Instructions
A practical innovation for convenient home automation, the Genie 3-Button Remote programming instructions eases the challenge of accessing your garage. Let’s delve into its unboxing and key features to better grasp its function and benefits.
On unboxing the Genie 3-Button Remote, one finds the remote itself, a visor clip for convenient storage in vehicles, and batteries pre-included for immediate use. In addition, detailed programming instructions accompany the package, guiding users in leveraging this modern convenience. The complete box contents ensure the quick setup and utilization of the device.
Setting Up the Genie 3-Button Remote
To get started with the Genie 3-Button Remote, follow the steps detailed below for a seamless setup process. This section outlines the procedure for both battery insertion and pairing the remote with your garage door opener.
Inserting Batteries into the Genie 3-Button Remote
First, open the battery compartment by sliding the back of the remote downwards. Take note that the Genie 3-Button Remote requires two triple-A (AAA) batteries. Insert the batteries correctly, keeping an eye on the positive and negative terminals. Close the battery compartment by sliding the back upwards. Now, your remote is powered and ready to be paired with the garage door opener.
Pairing the Genie 3-Button Remote With Your Garage Door Opener
For pairing, locate the ‘Learn’ button on your garage door motor unit—it’s usually colored differently for easy identification. Press and release this ‘Learn’ button. You will notice an LED nearby starting to blink.
Then, point your Genie 3-Button Remote at the opener. Press the button you want to use for operating the garage door. Hold it down until the opener’s LED light flashes. This flash signals that the remote button has been paired with the opener.
Upon successful pairing, test the operation by pressing the programmed button on your remote. If the garage door responds appropriately, your Genie 3-Button Remote setup process is complete. If not, repeat the pairing process until a successful link is established.

Step-by-Step Genie 3-Button Remote Programming Instructions
The following segment moves beyond unpacking and explores detailed Genie 3-Button Remote programming instructions. This information simplifies the programming process, ensuring effective use of the remote’s compatibility with Genie garage door openers from 1997 onwards.
Programming the First Button
To program the first button, locate the ‘Learn’ button on the Genie garage door opener. Press and immediately release it. Then, press and release the top button on the remote. Confirming the successful programming involves checking for a flashing light or a clicking sound coming from the garage door opener. These signals indicate that the opener received the remote’s signal.

Programming the Second Button
For the second button, repeat the process used for the first button. Firstly, press and instantly release the ‘Learn’ button on the garage door opener. Next, press and release the second button on the remote. Watch for the same indications of successful programming—a blinking light or a audible click from the garage door opener.
Programming the Third Button
To program the third button, apply the same steps as described for the first two buttons. Press and promptly release the ‘Learn’ button on your garage door opener. Subsequently, press and release the third button on the remote. Again, the light from the garage door opener should flash, or a click should be audible following successful programming. With this, the full potential of the Genie 3-Button Remote programming instructions can be unleashed for optimal use.